Redux Tutorial
This guide shows how to use Promise Saga with Redux and Redux Toolkit. Step-by-step, we will create a simple React Todo app to introduce you to the basic concepts. You can easily find all the source code at the end of this tutorial.
Configure your project
0. Install and set up Create React App
If you don't wish to create a project from scratch, create a demo project from a template.
npx create-react-app --template=cra-template-typescript demo-redux
Remove its src/ directory and proceed further.
cd demo-redux && rm src/*
1. Install required dependencies
Add the Promise Saga, Redux Toolkit, and React Redux packages to the project.
npm install @reduxjs/toolkit react-redux @promise-saga/core @promise-saga/plugin-react @promise-saga/plugin-redux
2. Create application starting point
Create an index.tsx file for that.
import {createRoot} from 'react-dom/client';
import App from './components/App';

const node = document.getElementById('root') as HTMLElement;
const root = createRoot(node);

root.render(<App />);
3. Configure Redux store with sagas
Create a store directory and an index.ts file in it. Configure the Redux store with added sagas support.
import {configureStore, Tuple} from '@reduxjs/toolkit';
import {createSagaMiddleware} from '@promise-saga/plugin-redux';

export default configureStore({
  reducer: {},

  // create a Redux middleware
  middleware: () => new Tuple(createSagaMiddleware()),
});
Configure sagas once for your project.
import {createCreateSaga} from '@promise-saga/core';
import {plugin} from '@promise-saga/plugin-redux';

export const createSaga = createCreateSaga({plugin});
4. Create App component
Provide the Redux store to the React application.
import {Provider} from 'react-redux';
import store from '../store';

export default function App() {
  return (
    <Provider store={store}>
      <h4>Todo List</h4>
    </Provider>
  );
}
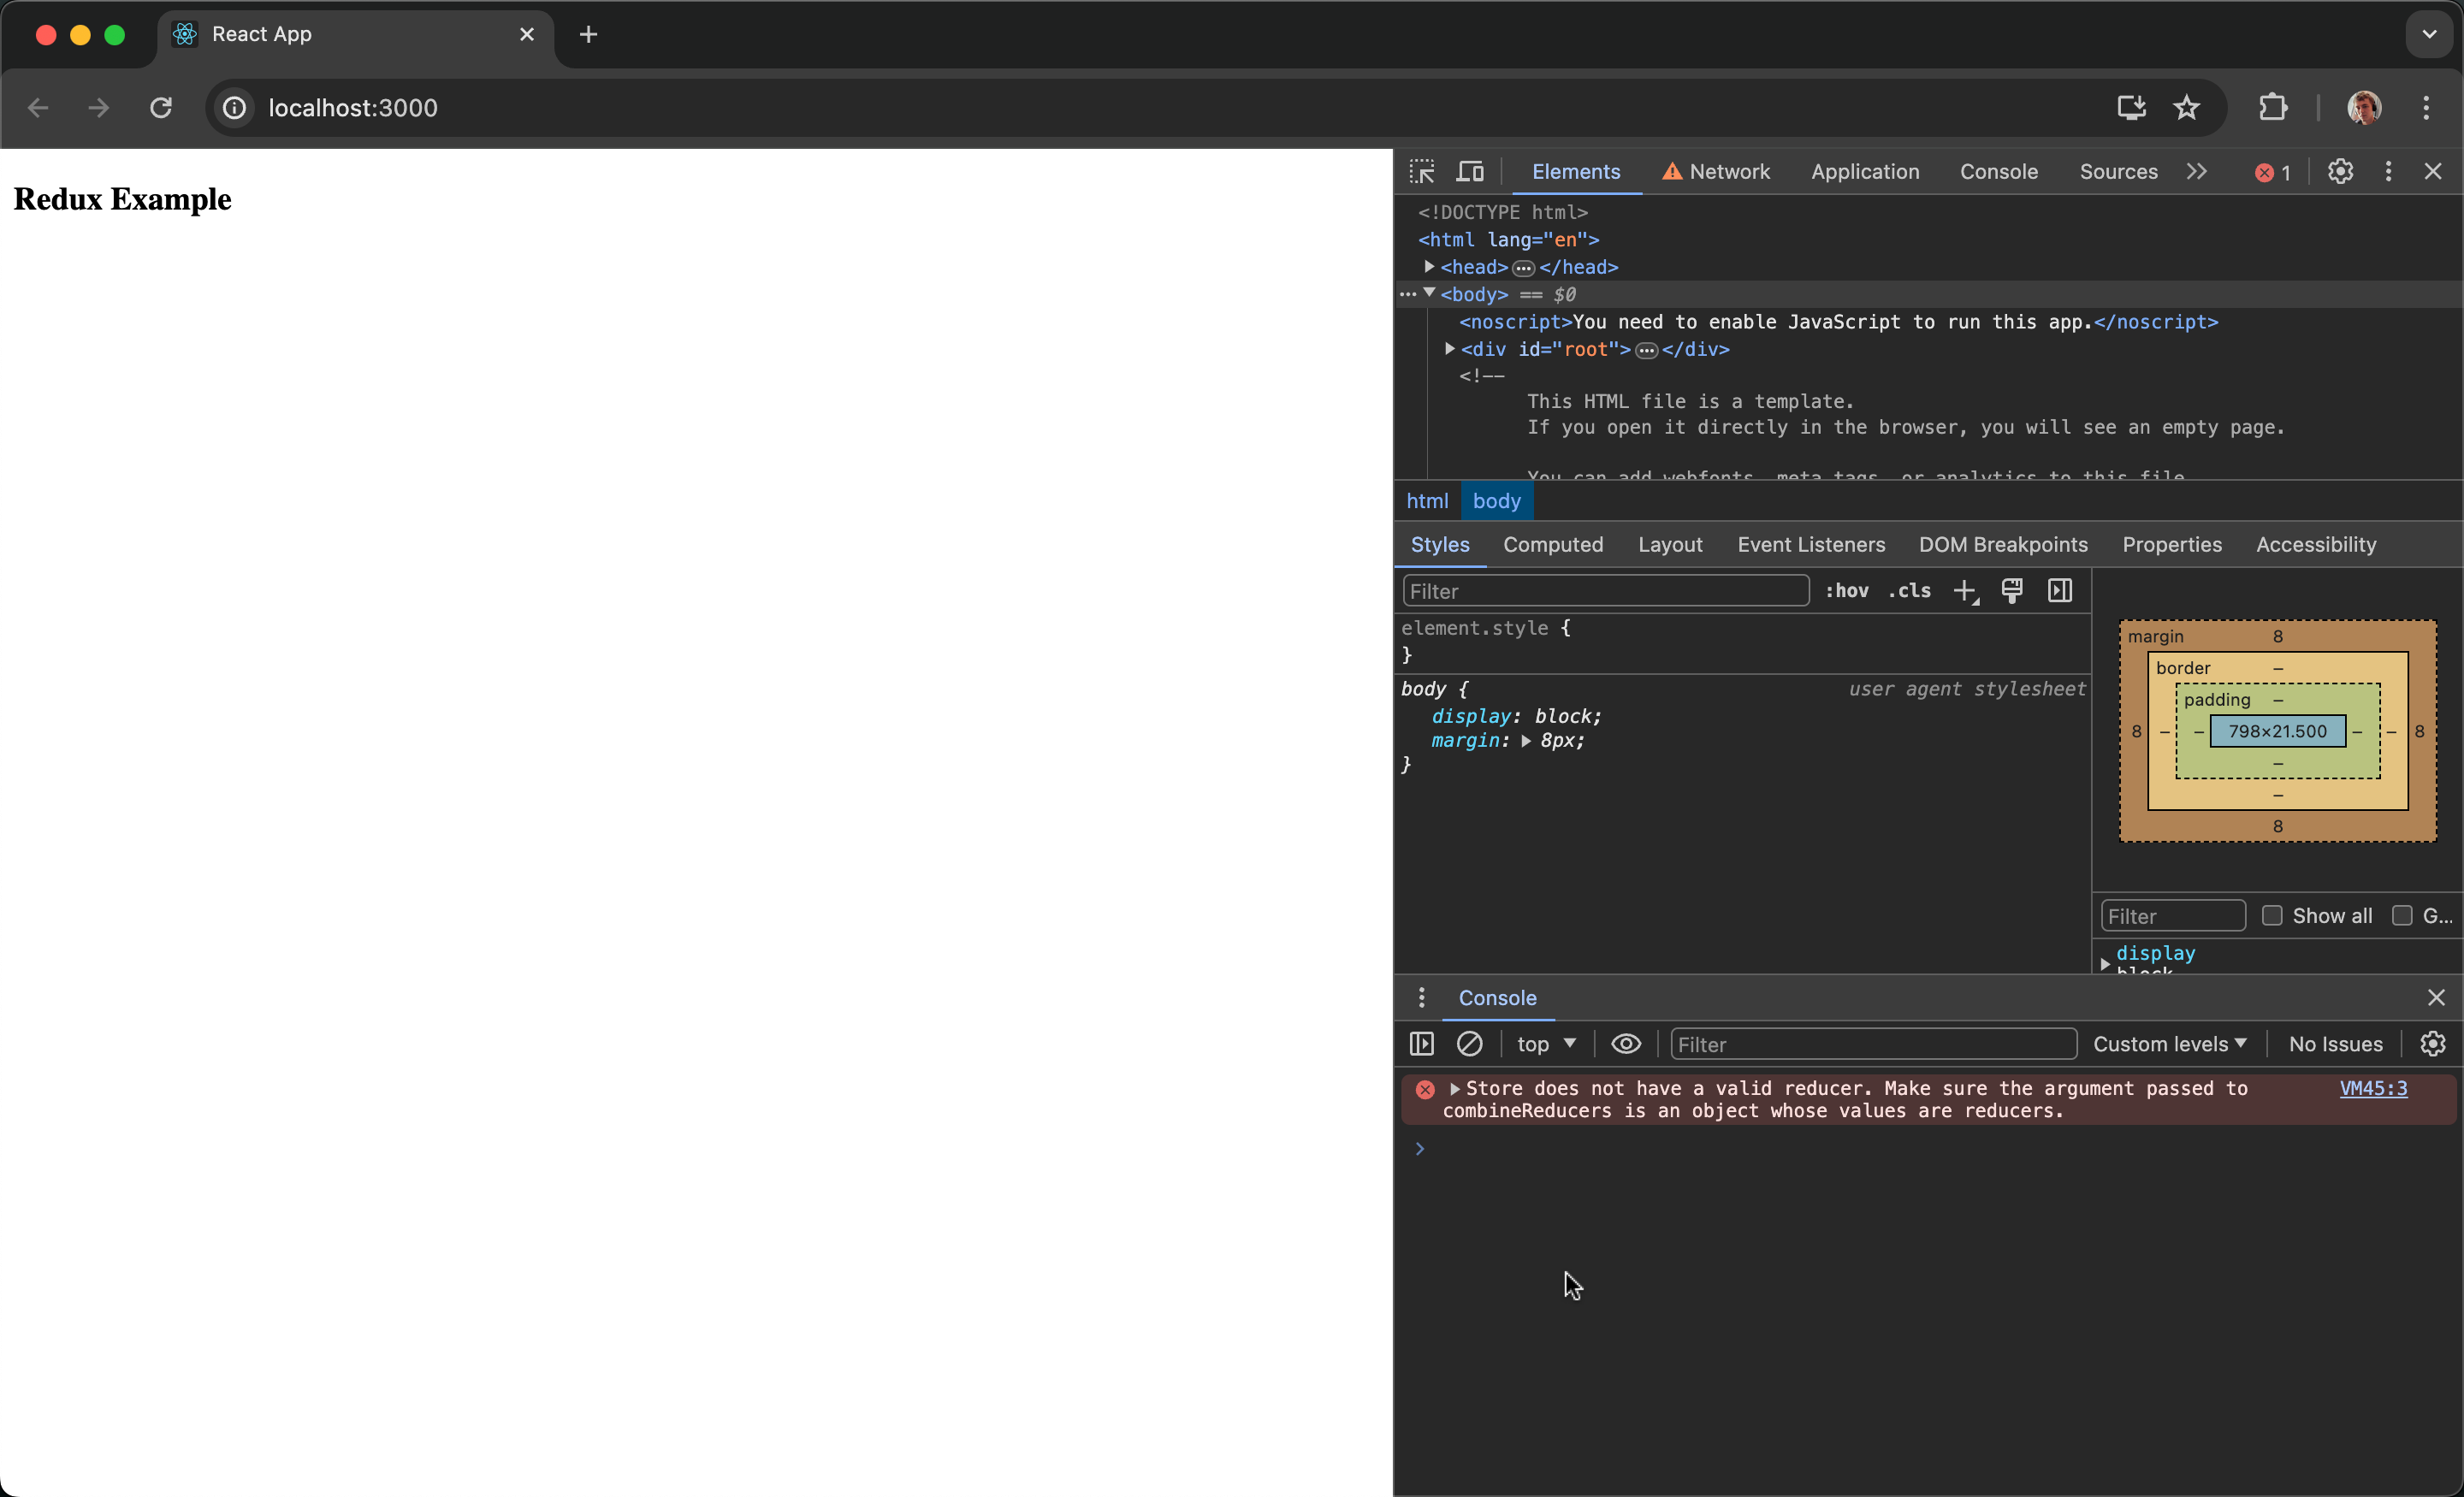
Run npm start from your command line to see an empty app:
Implement TodoList
5. Create TodoList component
import {KeyboardEventHandler, useRef} from 'react';

// initial todos to show
const todos = [
  {id: 1, text: 'Implement RTK', isCompleted: true},
  {id: 2, text: 'Play with coroutines'},
];

export default function TodoList() {
  // `new todo` text field ref
  const newTodoText = useRef<HTMLInputElement>(null);

  const addTodo: KeyboardEventHandler<HTMLInputElement> = (e) => {
    // handler to add todo with `text`
  };

  const toggleTodo = (id: number) => {
    // handler to toggle todo by `id`
  };

  return (
    <>
      <h4>Todos</h4>

      <input
        type="text"
        placeholder="New todo"
        ref={newTodoText} // attach `new todo` ref
        onKeyDown={addTodo}
      />

      <ol>
        {todos.map((todo) => ( // create an ordered list of todos
          <li key={todo.id}>
            <label
              style={{
                textDecoration:
                  todo.isCompleted
                    ? 'line-through' // cross out completed todos
                    : 'none'
              }}
            >
              <input
                type="checkbox"
                checked={todo.isCompleted || false}
                onChange={() => toggleTodo(todo.id)} // checkbox to toggle todo
              />

              {todo.text}
            </label>
          </li>
        ))}
      </ol>
    </>
  );
}
And turn it on in components/App.tsx:
import {Provider} from 'react-redux';
import TodoList from './TodoList';
import store from '../store';

export default function App() {
  return (
    <Provider store={store}>
      <TodoList />
    </Provider>
  );
}
Having no logic, the application is not interactive for now.
6. Create TodoList model
Create a models directory and a Todos.ts file in it. Configure Redux Toolkit's slice.
import {createSlice, PayloadAction} from '@reduxjs/toolkit';

// Create Todo type
type ITodo = {
  id: number;
  text: string;
  isCompleted?: boolean;
};

// Create Todos slice state type
type ITodosState = {
  todos: ITodo[];
};

export default createSlice({
  name: 'todos',

  initialState: {
    todos: [ // set todos to slice initialState
      {id: 1, text: 'Implement RTK', isCompleted: true},
      {id: 2, text: 'Play with coroutines'},
    ],
  },

  reducers: {
    // handler to add todo with `text`
    addTodo(state: ITodosState, action: PayloadAction<string>) {
      state.todos.push({
        id: Date.now(),
        text: action.payload,
      });
    },

    // handler to toggle todo by `id`
    toggleTodo(state: ITodosState, action: PayloadAction<number>) {
      const todo = state.todos.find((todo) => todo.id === action.payload);
      if (todo) todo.isCompleted = !todo.isCompleted; // toggle `isCompleted`
    },
  },

  selectors: {
    // selector to get todos list
    getTodos: (state: ITodosState) => state.todos,
  },
});
7. Add Todos reducer to the store
import {configureStore, Tuple} from '@reduxjs/toolkit';
import {createSagaMiddleware} from '@promise-saga/plugin-redux';
import Todos from '../models/Todos';

export default configureStore({
  reducer: {
    todos: Todos.reducer,
  },
  middleware: () => new Tuple(createSagaMiddleware()),
});
8. Bind Todos model to UI component
import {KeyboardEventHandler, useRef} from 'react';
import {useDispatch, useSelector} from 'react-redux';
import Todos from '../models/Todos'; // import a model

export default function TodoList() {
  const dispatch = useDispatch();
  const todos = useSelector(Todos.selectors.getTodos); // get todos list
  const newTodoText = useRef<HTMLInputElement>(null);

  const addTodo: KeyboardEventHandler<HTMLInputElement> = (e) => {
    // if `Enter` pressed
    if (e.key === 'Enter') {
      // pass text input value to `addTodo` action
      dispatch(Todos.actions.addTodo(e.currentTarget.value));

      if (newTodoText.current) {
        // clear text input value if rendered
        newTodoText.current.value = '';
      }
    }
  };

  const toggleTodo = (id: number) => {
    // pass todo id to `toggleTodo` action
    dispatch(Todos.actions.toggleTodo(id));
  };

  return (
    <>
      <h4>Todos</h4>

      <input
        type="text"
        placeholder="New todo"
        ref={newTodoText}
        onKeyDown={addTodo}
      />

      <ol>
        {todos.map((todo) => (
          <li key={todo.id}>
            <label style={{textDecoration: todo.isCompleted ? 'line-through' : 'none'}}>
              <input
                type="checkbox"
                checked={todo.isCompleted || false}
                onChange={() => toggleTodo(todo.id)}
              />

              {todo.text}
            </label>
          </li>
        ))}
      </ol>
    </>
  );
}
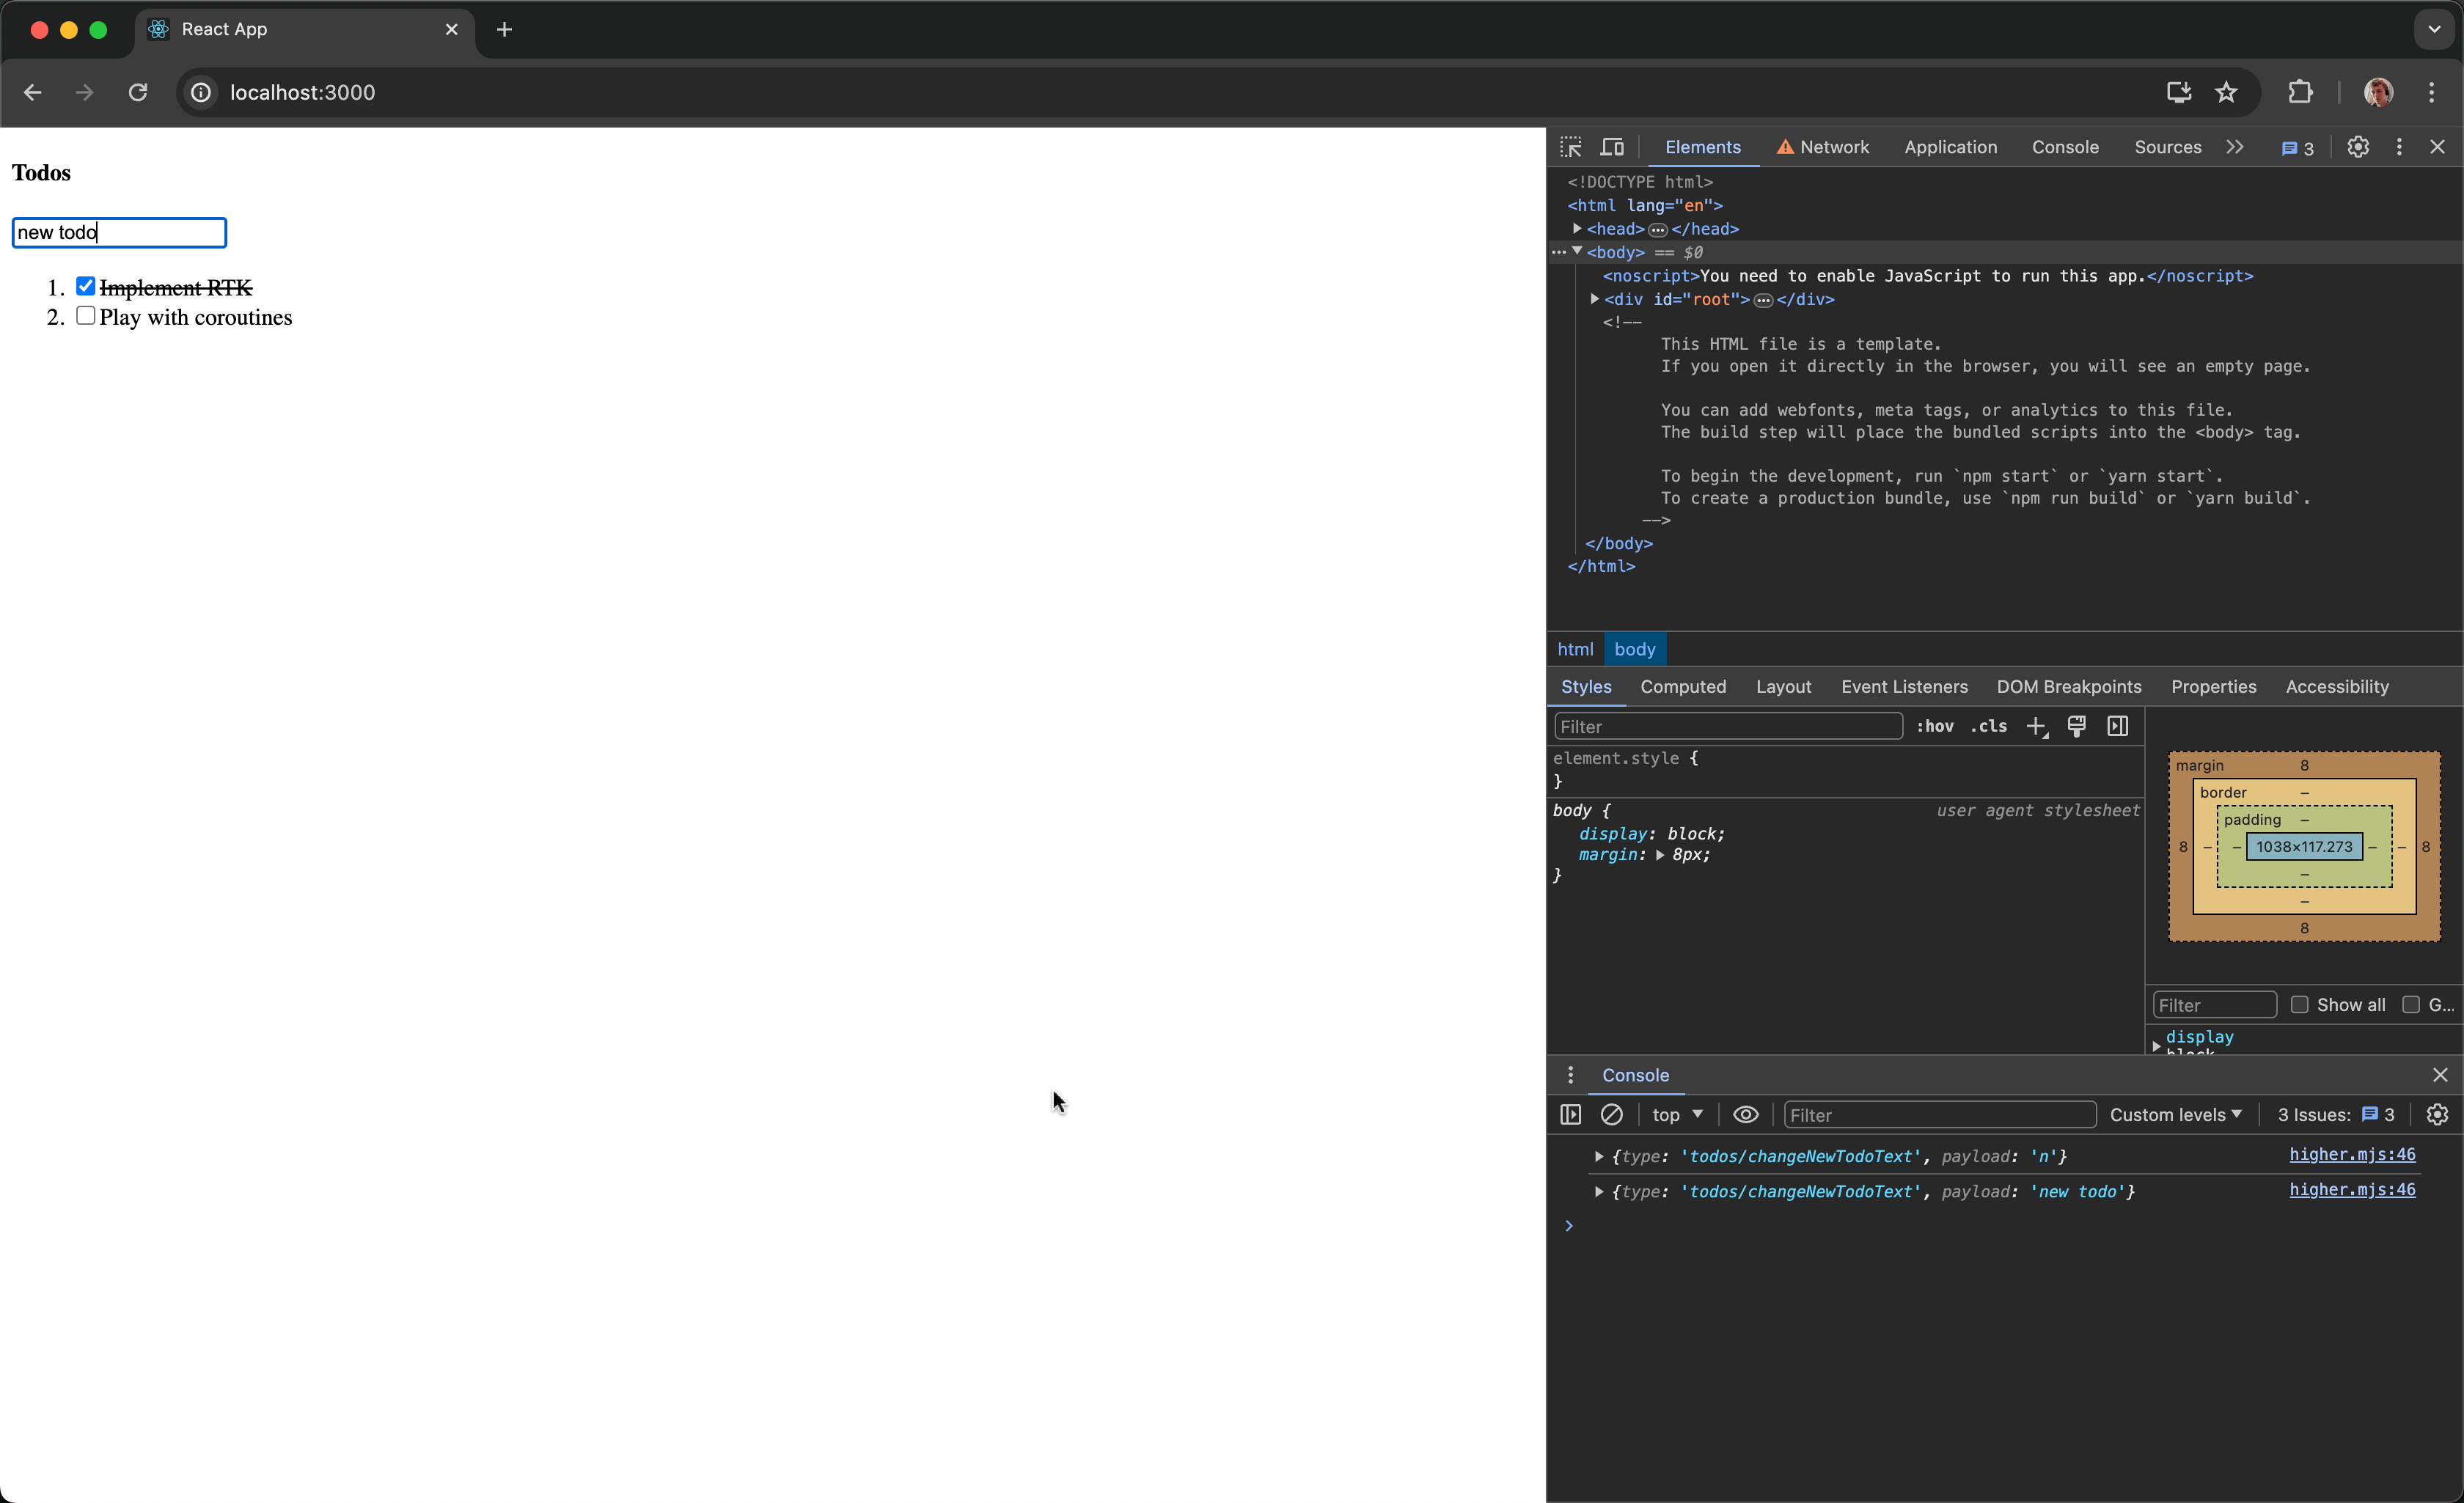
At this point, you have an interactive TodoList app, and you can add and complete todos with it:

Playing with sagas
9. Create first saga to play
For instance, let us count todos being completed by 3 and log to the console if they're all actually completed at this certain point of time. Create a models/Todos.sagas.ts for that.
import {createSaga} from '../store/saga';
import Todos from './Todos';

// create a saga to listen for todo `toggles`
export const listenTodoToggles = createSaga(async function () {
  for (let i = 1; ; i++) { // listen forever
    await this.take(Todos.actions.toggleTodo); // wait for `toggle` action to happen

    if (i % 3 === 0) { // count `toggles` by 3
      const todos = this.select(Todos.selectors.getTodos); // get todos list
      const isAllCompleted = todos.every((todo) => todo.isCompleted); // define if all todos completed

      console.log(`Toggled ${i} todos!`, {isAllCompleted}); // log!
    }
  }
});
Use the saga on an App level, for example.
import {Provider} from 'react-redux';
import {useSaga} from '@promise-saga/plugin-react';
import {listenTodoToggles} from '../models/Todos.sagas';
import TodoList from './TodoList';
import store from '../store';

export default function App() {
  useSaga(listenTodoToggles); // use a saga

  return (
    <Provider store={store}>
      <TodoList />
    </Provider>
  );
}
Test the example by toggling todos, counted by 3 now:

10. Try Promise Saga hooks
You've already used some lower effects in the previous step, like take and select.
Now, let's see how to debounce text input value with some additional saga hooks, implementing higher effects inside. Turn them on in store/saga.ts.
import {createCreateSaga} from '@promise-saga/core';
import {plugin, createHigherHooks} from '@promise-saga/plugin-redux';

export const createSaga = createCreateSaga({plugin});

export const {
  useTakeEvery,
  useTakeLeading,
  useTakeLatest,
  useDebounce,
  useThrottle,
} = createHigherHooks(createSaga);
11. Create action for testing
Name it changeNewTodoText to be clear.
import {createSlice, PayloadAction} from '@reduxjs/toolkit';

type ITodo = {
  id: number;
  text: string;
  isCompleted?: boolean;
};

type ITodosState = {
  todos: ITodo[];
};

export default createSlice({
  name: 'todos',

  initialState: {
    todos: [
      {id: 1, text: 'Implement RTK', isCompleted: true},
      {id: 2, text: 'Play with coroutines'},
    ],
  },

  reducers: {
    addTodo(state: ITodosState, action: PayloadAction<string>) {
      state.todos.push({
        id: Date.now(),
        text: action.payload,
      });
    },

    toggleTodo(state: ITodosState, action: PayloadAction<number>) {
      const todo = state.todos.find((todo) => todo.id === action.payload);
      if (todo) todo.isCompleted = !todo.isCompleted;
    },

    changeNewTodoText(state: ITodosState, action: PayloadAction<string>) { }
  },

  selectors: {
    getTodos: (state: ITodosState) => state.todos,
  },
});
12. Dispatch action on input change
Dispatch the changeNewTodoText action once the new todo text gets changed.
import {ChangeEventHandler, KeyboardEventHandler, useRef} from 'react';
import {useDispatch, useSelector} from 'react-redux';
import Todos from '../models/Todos';

export default function TodoList() {
  const dispatch = useDispatch();
  const todos = useSelector(Todos.selectors.getTodos);
  const newTodoText = useRef<HTMLInputElement>(null);

  const addTodo: KeyboardEventHandler<HTMLInputElement> = (e) => {
    if (e.key === 'Enter') {
      dispatch(Todos.actions.addTodo(e.currentTarget.value));

      if (newTodoText.current) {
        newTodoText.current.value = '';
      }
    }
  };

  const toggleTodo = (id: number) => {
    dispatch(Todos.actions.toggleTodo(id));
  };

  const changeNewTodo: ChangeEventHandler<HTMLInputElement> = (e) => {
    dispatch(Todos.actions.changeNewTodoText(e.currentTarget.value));
  };

  return (
    <>
      <h4>Todos</h4>

      <input
        type="text"
        placeholder="New todo"
        ref={newTodoText}
        onKeyDown={addTodo}
        onChange={changeNewTodo}
      />

      <ol>
        {todos.map((todo) => (
          <li key={todo.id}>
            <label style={{textDecoration: todo.isCompleted ? 'line-through' : 'none'}}>
              <input
                type="checkbox"
                checked={todo.isCompleted || false}
                onChange={() => toggleTodo(todo.id)}
              />

              {todo.text}
            </label>
          </li>
        ))}
      </ol>
    </>
  );
}
13. Debounce text input
Bind the debouncing Redux action to a simple handler like console.log.
import {Provider} from 'react-redux';
import {useSaga} from '@promise-saga/plugin-react';
import {listenTodoToggles} from '../models/Todos.sagas';
import TodoList from './TodoList';
import Todos from '../models/Todos';
import {useDebounce} from '../store/saga';
import store from '../store';

export default function App() {
  useSaga(listenTodoToggles);
  useDebounce(1000, Todos.actions.changeNewTodoText, console.log);

  return (
    <Provider store={store}>
      <TodoList />
    </Provider>
  );
}
Test it. Your new todo text is going to be logged once 1000ms pass after input finished:
14. Manage advanced sagas canceling
Both sagas used above within a React component are automatically cancelled on component unmount and called again on component mount. But you might want to have more control over sagas flow. Since every saga returns a SagaIterator, you can toggle it.
import {Provider} from 'react-redux';
import {useSaga} from '@promise-saga/plugin-react';
import {listenTodoToggles} from '../models/Todos.sagas';
import TodoList from './TodoList';
import Todos from '../models/Todos';
import {useDebounce} from '../store/saga';
import store from '../store';

// checkbox component to control saga flow
const SagaCheckbox = ({flow}: {flow: ReturnType<typeof useSaga>}) => (
  <input type="checkbox" onChange={flow.toggle} checked={flow.isRunning} />
);

export default function App() {
  // save saga iterators to variables
  const listenTogglesFlow = useSaga(listenTodoToggles);
  const logNewTodoFlow = useDebounce(1000, Todos.actions.changeNewTodoText, console.log);

  return (
    <Provider store={store}>
      <div>
        <label>
          <SagaCheckbox flow={logNewTodoFlow} />
          Log new todo text, debounce 1000ms
        </label>
      </div>

      <div>
        <label>
          <SagaCheckbox flow={listenTogglesFlow} />
          Log todos toggling, count by 3
        </label>
      </div>

      <TodoList />
    </Provider>
  );
}
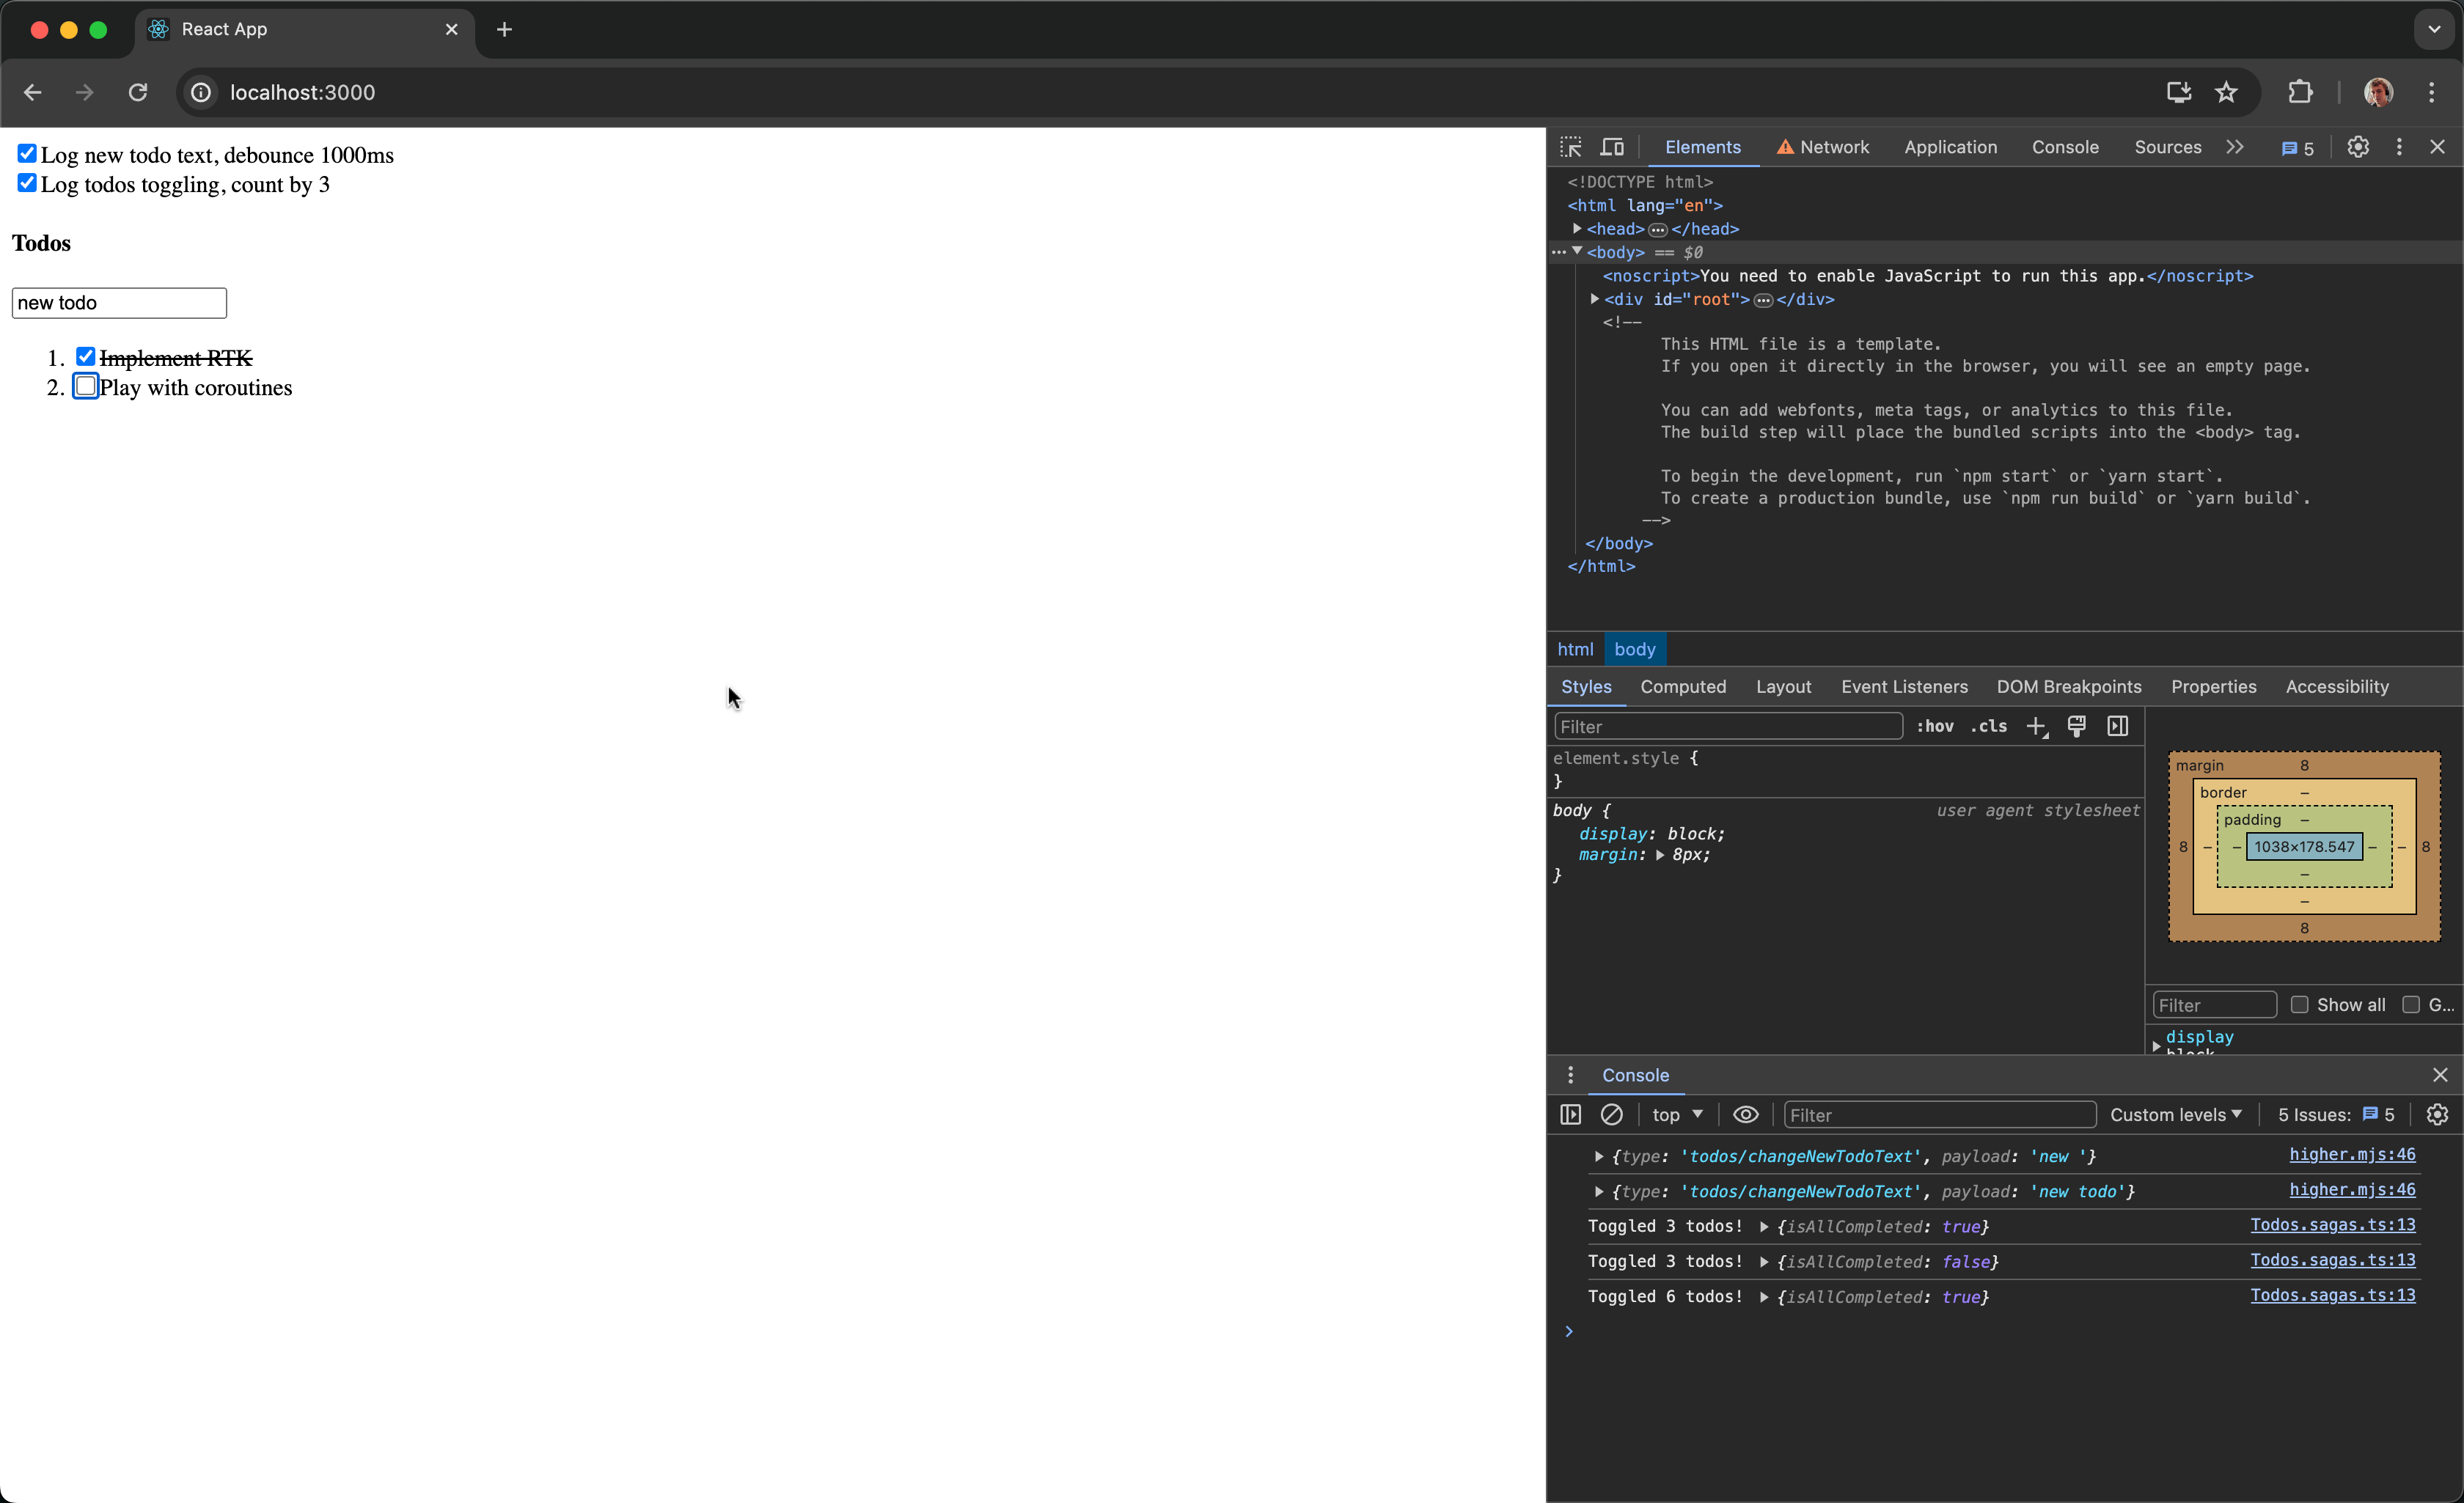
Test the result! Since we've implemented checkboxes controlling sagas flow, notice that:
- Changing new todo text is debounced with a timeout of 1000ms (1st checkbox). Changing the text input and turning its saga off instantly doesn't give any effect, as the saga gets cancelled sooner.
- Todos toggling is counted by 3 (2nd checkbox). Turning this checkbox off and back resets the counter, as the saga flow gets renewed.
Source code
Refer to the complete Redux example for more information.